Courses
Group, Freeze and Split
Focus data display
Group, Freeze and Split functionalities are similar in the way that they make it possible to view data simultaneously that is otherwise separated by several columns or rows.
Uses of Group, Freeze and Split
- Group: Good for hiding long calculations that are separated by multiple columns or too detailed data that is not of interest for a Management presentation. If asked, you can easily show the calculations and data that lie behind your presented data. It is also a transparent way of making the data available if you need to send your spreadsheet to someone for review.
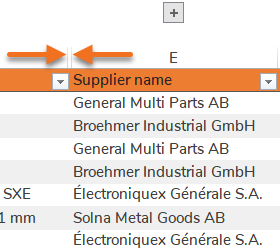
- Freeze: Good for permanent setup of columns or rows that are of extra importance for data analysis. It could for instance be the columns containing Material number and Material description when analyzing materials or Supplier number and Supplier name when analyzing suppliers. Without Freeze, there is a risk of loosing track when scrolling back and forth in data extracts with many columns.
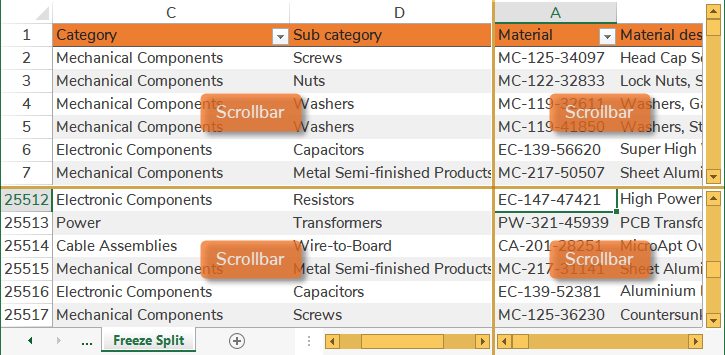
- Split: Good for temporary use when building new spreadsheets or analyzing data, especially when looking at many raw data columns. It is however not so great for presentation with all the windows and scrollbars making it less intuitive for the audience. When presenting it is expected of you that you have already selected data of interest and hidden the rest.
Group
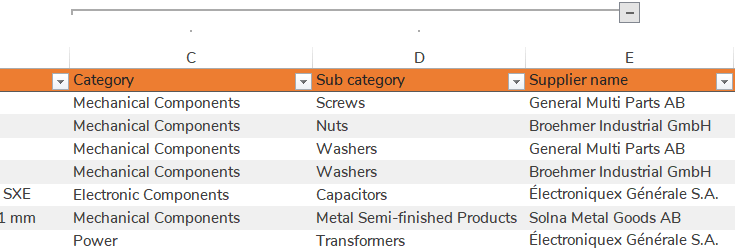
Group is applied to column or row ranges and results in a Toggle that can be expanded or collapsed to show or hide the Ranges. Unlike Freeze and Split that are divided in 2 or 4 sections, there is no limit to how many Groups that can be created.
Warning: Avoid using Hide
There is also a Hide function in Excel, but hidden columns or rows are easy to loose track of. Instead use Group that clearly shows with a Toggle icon ![]() where hidden columns or rows are located.
where hidden columns or rows are located.
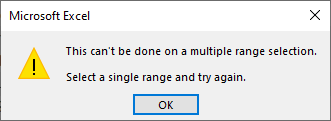
Selecting the complete Table by pressing Ctrl + A makes it possible to:
- Collapse all Groups.
- Expand all Groups.
- Ungroup all Groups.
Freeze and Split
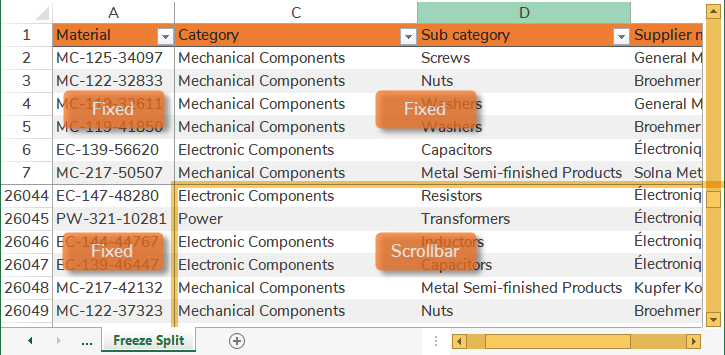
The difference between Freeze and Split is how the divided sections can be scrolled through. With Freeze only the bottom right section can be scrolled, while all 4 Split sections be scrolled individually. You can also choose to only Freeze or Split columns or rows (instead of columns and rows at the same time).
Tip: Use the build-in Freeze in Table Headers
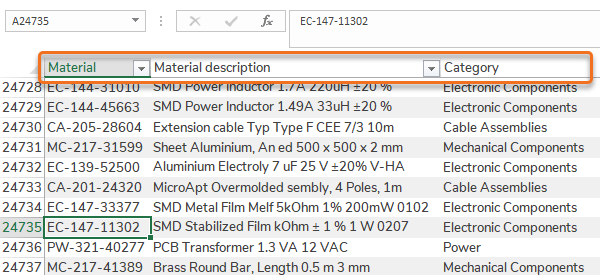
Tables have a built-in functionality similar to Freeze. When a Table is selected and the spreadsheet is scrolled down the Table Header names will replace the column letters A, B, C,… etc.
Quick guides
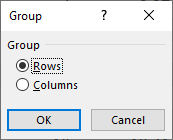
Step 1 – Select a complete Range of columns or rows.
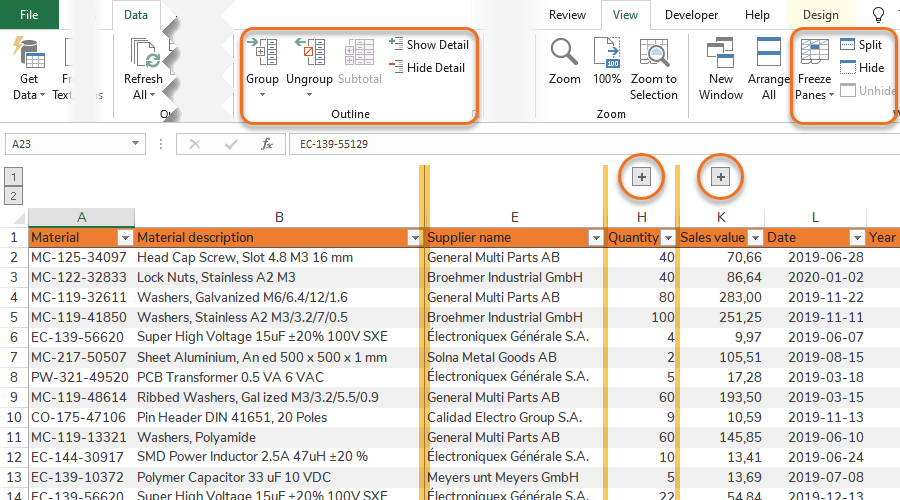
Step 2 – Go to Data > Click Group.
Ungroup [Remove Group]: The same instruction applies, with the difference that several columns or rows can be ungrouped at the same time.
Step 1 – Select a cell where you want the Freeze or Split. The effect will be applied to the left of the cell for columns and above the cell for rows.
Option 1 [Freeze] – Go to View > Freeze Panes > Click Freeze Panes.
Option 2 [Split] – Go to View > Click Split.